The FASAT Advantage
Phased array technology has become the standard for many ultrasonic testing inspections. The customary approach is to pre-set a limited number of focal laws to achieve the desired beam focus. Examination information is therefore limited by the focal laws and other parameters, which are set at the "front end” of the test. The surface also needs to be smooth and geometrically consistent, or the inspection may become too complicated or totally infeasible. With the Focused Array Surface Adapting Technology (FASAT) system, however, these limitations no longer apply.
Common geometry conditions that can prove problematic for UT examinations are:
- Weld crowns
- Tapers
- Steps
- Elbows
- Asymmetric shapes
- Complex, arbitrary geometries
- Unknown, unconventional geometries
As its name implies, FASAT adapts to complex, arbitrary surface changes, delivering complete volumetric inspections with a single scan. FASAT digitizes and stores all acquisition data, allowing the operator unlimited processing capability without the need to rescan.
The FASAT System
The FASAT system is comprised of an array transducer or a transducer set mounted within a captive couplant probe. The probe is passed over the surface of the test part with the aid of a scanner. The UT pulser/receiver instrument, computers and operating software complete the system.
 The FASAT instrument controls the pulsing and receiving of every element so that all ultrasonic RF data can be discretely separated and stored. This extremely powerful feature means all data resulting from every possible transmitter-receiver element pairing is recorded, resulting in the storage of all information that can be obtained from a UT inspection; no additional scanning is required for a revised look at the test material.
Real-time focusing through complex surfaces, plus storage of all raw data is made possible through “super” computing power only recently available on a practical scale. Acquired data can be manipulated in an unlimited fashion, with any desired focal depth, beam angle, or other parameter needed to achieve an optimized examination of any location within the test medium. The raw data remain unchanged and available for continued processing and evaluation.
Measurement thru Grayloc® Weld Cap
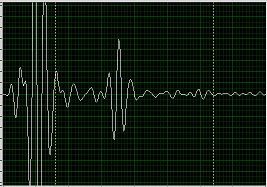
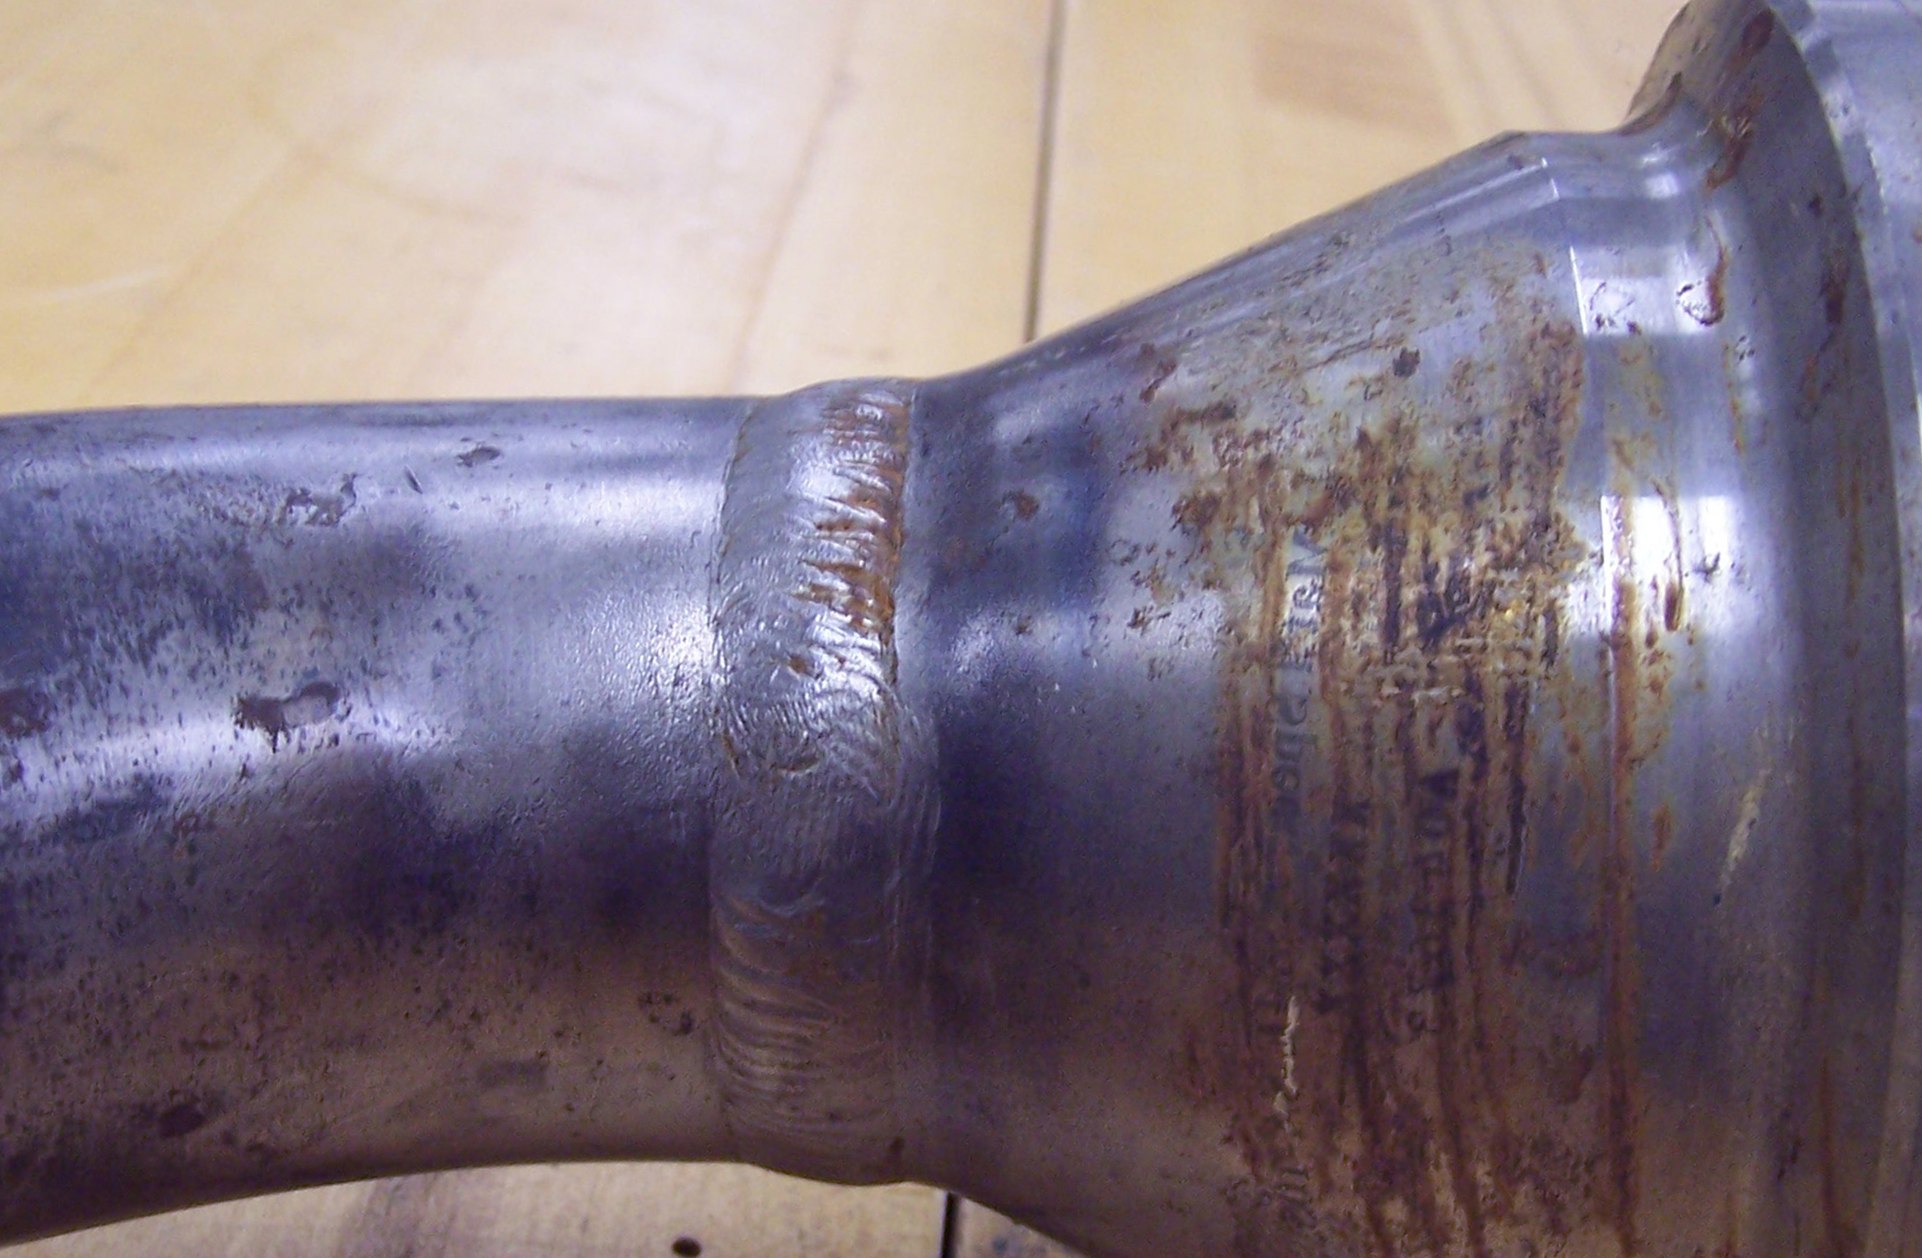
The figures on this page illustrate the application of the FASAT technology to the measurement of thickness through CANDU® feeder tube Grayloc® weld caps. Here, FASAT demonstrates its ability to accurately map the surface profile and obtain a good back wall reflection through the Grayloc® weld.


Applications
With FASAT’s ability to inspect multi-dimensional surfaces, store all raw data, then manipulate that data at will based on the operator’s needs, an extremely wide range of inspection applications is possible. Such applications include:
- Wavy or smooth welds
- Weld overlays
- Nozzles
- Pipe elbows
- Tapered parts
- Wing structures
- Blades
- Pipe T’s
- In-process manufacturing


